
Travel photography can be one of the most rewarding hobbies. It’s a great way to document your travels and share them with friends and family. You don’t need to buy expensive gear or even a DSLR camera to get started. All you need is an iPhone and a little bit of know-how.
We’ve put together some travel photography tips to help you get started:
Use the Grid Feature

The grid feature on your iPhone isn’t just for checking if your photos are level. It can also help with composition. The grid is composed of three lines that divide the image into thirds, helping you position elements in your photo, so they’re evenly spaced out. This will make your photos look more professional and pleasing to the eye.
The grid pattern on your iPhone’s screen can help you find these intersections when composing shots. For example, if you’re taking a photo of people standing in front of a building or other landmark, place their faces along with one of the intersecting lines in the grid instead of smack dab in the middle of it all.
This will ensure that they look more natural in their surroundings and draw attention to where you want it to go rather than looking awkward and out of place.
Experiment with the HDR (High Dynamic Range)
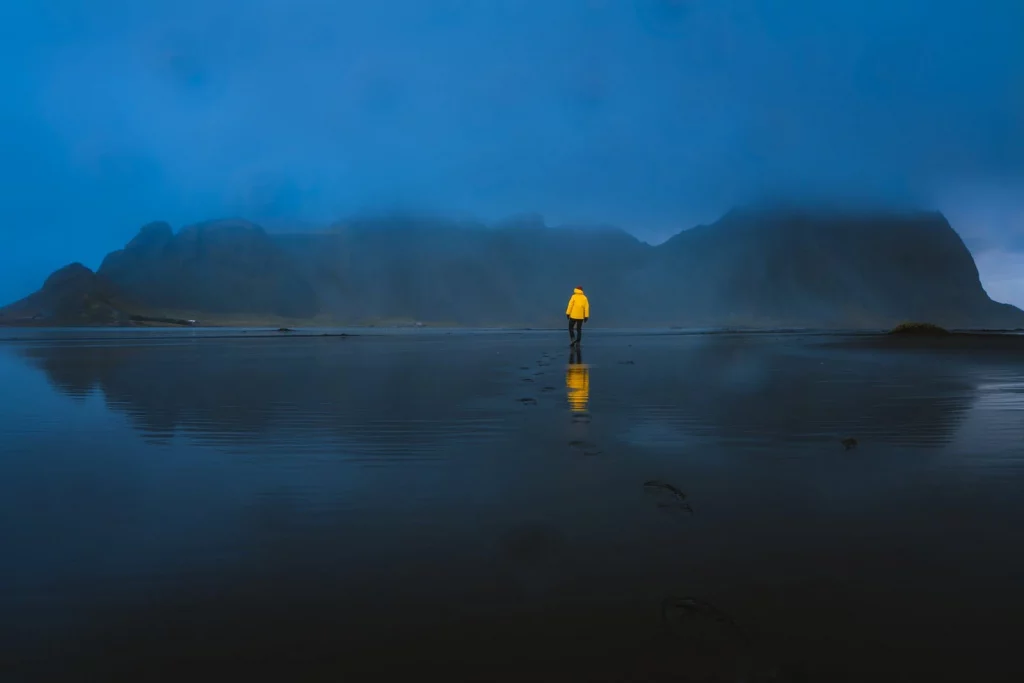
If you’ve ever tried to photograph a sunset or sunrise, you know how difficult it can be to capture the entire range of light in one shot. That’s where HDR comes in. HDR shots combine several different exposure settings into one image to create an optimal shot, whether it’s capturing a dark foreground and light background or vice versa.
It’s easy to use but takes a little practice to get right. Experimenting with HDR will help you get better at shooting in low-light situations and will add more depth and detail to your photos.
Try Manual Mode

Manual mode allows you to manually adjust the shutter speed and ISO (sensitivity). These two settings determine how long your camera will expose each image. This is important because both light levels and subject movement can greatly influence how blurry or sharp an image appears in the final product.
A slower shutter speed creates motion blur while allowing more light into the frame; a faster shutter speed freezes motion but requires less light. The ISO setting controls how sensitive the sensor is to light.
Lower numbers mean less sensitivity and better quality at night or indoors, while higher numbers mean more sensitivity but lower quality in low-light situations.
Final Thoughts
The tips above can help you take better photographs with your iPhone. You’ll get more beautiful shots, and you’ll be able to present them in more compelling ways. Travel photography is a skill that requires practice, but with these travel photography tips and tricks, the process will seem much simpler.
Remember, when traveling, try to plan for the unexpected and be creative because different adventures might bring in new challenges.