
Proper lighting is the foundation of capturing a stunning moment, whether snapping selfies, capturing landscape, or taking portraits. The best way to improve your photography is to make use of the rare moment just before sunset and after sunrise – the golden hour!
This is the period before the sunset or after sunrise and it gives a softer light with red or orange hues.
In this post, you’ll learn tried and tested methods for shooting at golden hour with your iPhone. Read on and let’s capture the moment!
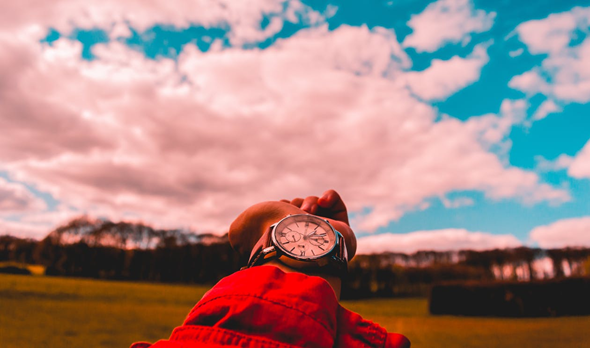
Timing is Essential
Golden hour is easy to work with, but there’s a chance it can still go wrong. Since you have limited time, you may be forced to shoot high ISOs when the light starts to wane. Therefore, it helps to plan your photo session at least an hour before the sun sets. This way, you will have adequate time to plan the location and the necessary equipment.
You also need to consider the weather before going out for your golden hour photoshoot. For instance, you might want to consider another day if it’s too cloudy as this can block the light completely. Nevertheless, there are times when the clouds can diffuse the light and give interesting effects that can enhance your photos.
Avoid Unwanted Shadows
Light direction has an important effect on how your photo would look, especially when taking portraits. Vertical lights coming from above your subject create ugly shadows, and that’s why you should avoid them!
The worst you could do is give your model raccoon-looking eyes, which happens when eyebrows cast shadows over the eyes, making them look like eyebags. When taking golden hour photos, the light comes from a low angle, which illuminates the model’s face from the side and not from above. This eliminates unwanted shadows.
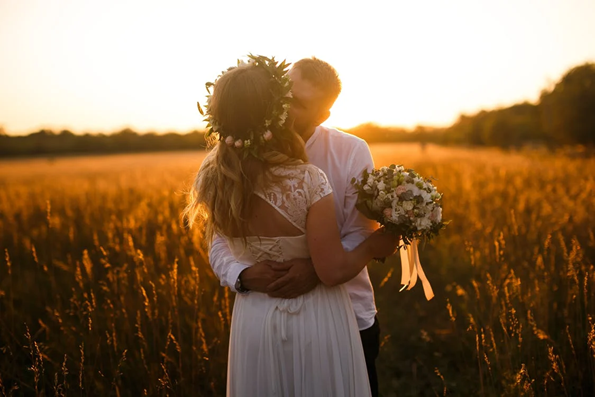
Add Positive Energy with Warm Golden Hour Colors
Warm colors are a strong compositional tool that evokes positive feelings such as excitement, happiness, and optimism. That’s why images that are taken in the golden hour usually have vibrant energy associated with them.
It makes your photos look more magical, hence its nickname the “magic hour.” Adding warm golden hour colors also makes your model’s skin tone better. During this time, the light emits a yellow-red that makes the skin look warmer rather than cold or neutral.
Try the Creative Side of Light
During the golden hour, you’ll experience this effect called split lighting. This gives off a shadow on one side of your subject which adds depth and texture to the portrait. It also adds a bit of spice, but not as exaggerated as the lightning in a studio.

Create Silhouettes
The golden hour is the right opportunity to capture silhouettes, which occurs when the subject is blacked out, while the background is exposed in the photo. Subjects with easily recognizable shapes work perfectly with silhouette shots.
The lack of detail coupled with high contrast in the background adds mystery and drama to your photo. To get nice silhouettes, you’ll have to set a good amount of exposure in the settings, allowing the brightest components of the image to get the optimal exposure.
Photograph Stunning Reflections
If you’re shooting near a lake at sunset or sunrise, you can take advantage of capturing reflections of the orange sky reflected into the calm blue water. This makes for a really stunning capture as the reflections create a mysterious path to the parallel world.
Capture Long Shadows
You can add detail and texture to a photograph by capturing long shadows to give a sense of depth and volume. You can use these to emphasize elements such as grooves, dunes, and the like.
You can also use the shadows of your models as a photo composition element. They will balance the bright yellow and warm reds from the sun with their darker colors.
Use Black & White
Most people like their sunset and sunrise photos best in colors for a more dramatic effect. Nevertheless, it’s worth trying to convert them to black and white, especially when the shot includes rays of sunlight shining into your model. This will give a serious yet glamorous effect.
Capture Sunrises and Sunsets
Sunsets and sunrises are easy to miss especially in your daily busy lives. Chasing the golden hour would definitely be worth it — especially if you get to catch that magical light as you get out of bed or are just tired from work.

Select the Best Golden Hour Settings
You can shoot in manual mode to make use of back-lighting and adjust exposure. Alternatively, you can also opt for a semi-manual mode such as spot metering and aperture priority.
Spot metering will allow your camera to expose the focal point of the moments, rather than the entire scene. Without this setting, you’ll probably end up with a really dark subject!
Another great option with a golden hour backlight is to add a reflector. You can bounce some of the light back on your model, creating a more equal exposure.
Final Words
Well, we’ve covered everything you might want to try during golden hour with your iPhone camera. If you are ready to take advantage of the golden hour, we hope that these tips prove helpful.
