
While you start to master your iPhones camera, and night photography might not seem too scary anymore, there is still much more to discover. And it is always breathtaking to find out how powerful an iPhone camera can be, and what it is able to do when one knows how to. One thing that definitely takes your photos to another level, is learning how to start shooting for stars or even getting the entire milky way on a photo. It might sound complicated and like something for professionals with very big cameras, but with a few tips and a lot of patience it is not as difficult as it sounds.
The newest iPhones have the advantage, that they allow you to change all your settings manually, just like with any other camera. This is a huge gamechanger while getting into photography. And here is where we need to work at. The shutter speed of your phone allows you to take photos during very dark moments, catching even the smallest light, for example stars. For this you need to take your shutter speed down, as much as possible. This will probably set your camera to take the photo for around 30 seconds. This way it captures more light, and stars will be visible. There are two things here to keep in mind: one is keeping your phone completely steady. The best way of achieving this is using a tripod to hold it still. The other thing is related to the first, movement during this type of photography destroys the entire shot making it blurry (if you want a blurry effect, it might not be the worst idea), so not having anyone or anything moving in front of the camera is vital. There is an app that can help you with setting the right lightning conditions while shooting stars, and that’s NightCap. It is easy to use and has a more understandable set of adjustments, that can make your life easier while working in night mode. Also try to avoid using any type of zoom. Even using the app and setting your phone to the best exposure can be ruined by zooming in on those stars, and destroying the quality of the photo, making it more pixelated and noisier. Not good!
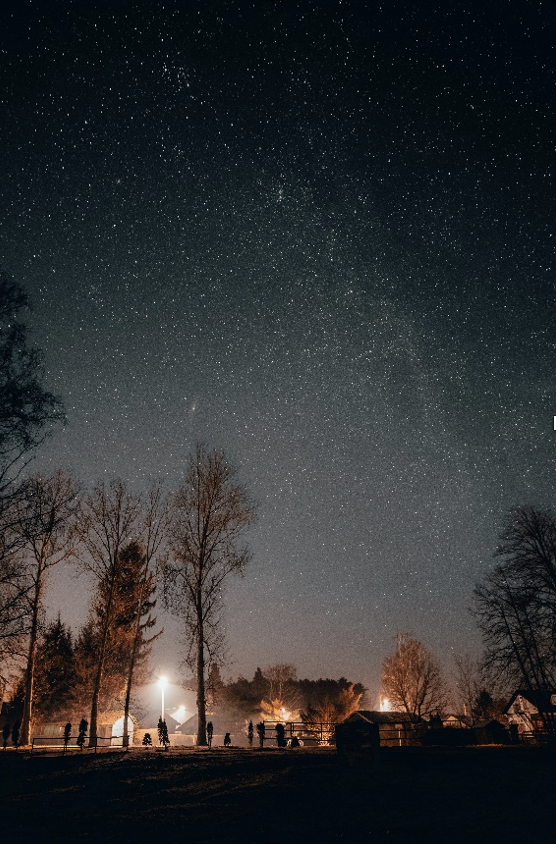
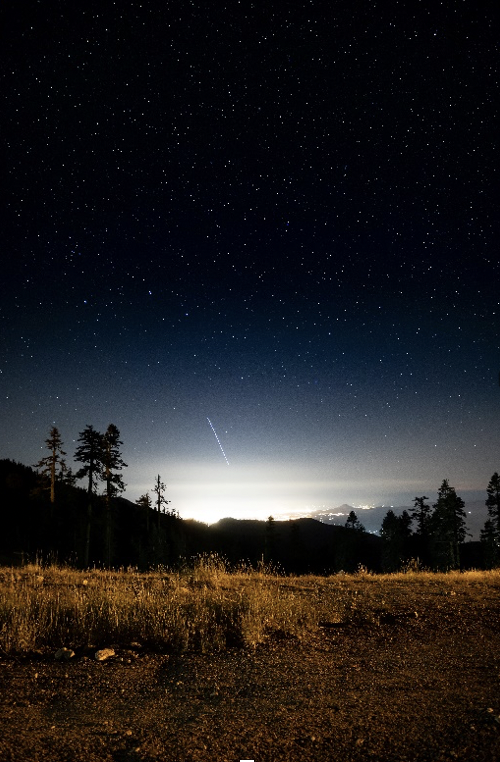
There are a few things to also keep in mind regarding the surroundings while taking these photos. Lower shutter speed is there to let lots of light into your lens, but this can also be a nightmare when close to other lights that are not stars. Streetlights, city lights, cars or fire can completely ruin your photos, as they will overwhelm your camera. A forest setting or somewhere away from the city would work perfectly.
But what can be better than a quiet and peaceful place to take your star photos? This way you get the perfect lightning conditions, and your results will be visible after your first round of shots. Always remember that patience is key and is always well rewarded.