Snapping photos of food has become essential for anyone who owns a social media account and goes out to eat from time to time. And why shouldn’t we? Food is something everyone consumes and loves to see. But getting great shots of your dishes is not that easy if you want to do it right. That’s why we created this post for you today, we are here to show you how.
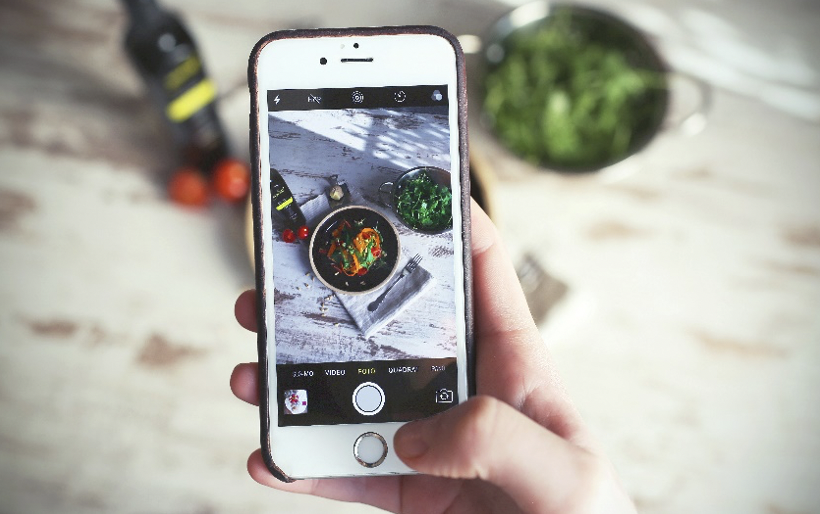
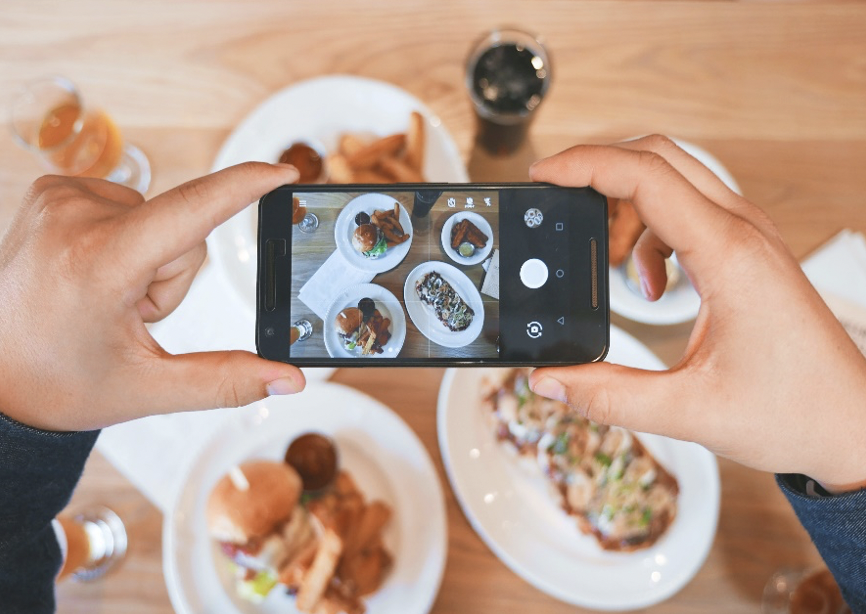
The first thing you need to do, counting on the patience of those that are eating with you, is organizing, and styling your dish. Get rid of all distractions like dirty napkins, glasses, phones, or hands, and organize your dish in a way, the colors match and the food looks appetizing. Here it is also important to choose the best angle. Most food
photographers prefer shooting food from above, having the entire content of the plate framed perfectly. You can also play around and move your iPhone from one side to the other, up and down, until you find the perfect angle that fits your dish best. Cakes for example look better from a side angle than from above, but it really is all about experimenting and being patient.

The lighting is also very important, and here we must talk a little about the color of your food. As restaurants use many different types of lighting you can’t always control, knowing when to make use of the flash is important. Taking in account that darker dishes will obviously need more light, it is also good to know that shiny food might get ruined by flashlight. So, if a large part of the plate is empty, or you shoot shiny food like for example apples, the flashlight won’t do a good job. Here it can be better to choose a seat in the restaurant with better lightning conditions, or during the day, a table by the window.

Finally, editing your photos is essential, and objects that are colorful need a little more attention to detail. It is normal for a dish to have more than two or three colors, that’s why creating a universal food filter on your editing app (such as Lightroom or VSCO) might be a time-saver. Here it is important to not move the color palettes around too much and focus more on the lighting of the photo and the saturation of the colors, leaving color adjustments for after applying the filter. This way, the same filter you use for a brown steak, you can also use for a colorful fruit salad.
Even if all these tips are helpful while creating food content, it is important to know that experimenting on your own is the best way to find out what works for you best. Play around with different edits and presets, work with different angles, shoot with different lenses and definitely try out as many types of food as you can, to find you best way to get amazing food photos with your iPhone.
