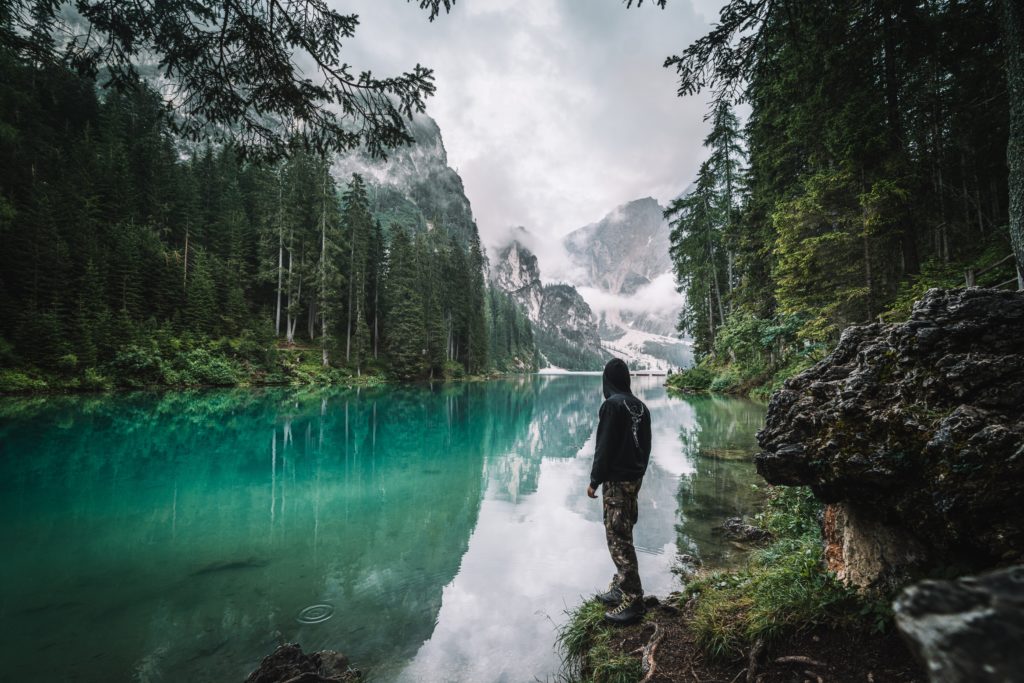
Getting into photography and all things that come with it, might tempt you to buy a professional camera as quick as possible. What you don’t know is how this isn’t always necessary. Owning and iPhone, having one of the best phone cameras to date, can be a powerful tool in any type of photography. This of course includes landscape photography using your iPhone, and we hope you are here to learn how.
Horizontal is key
First things first, placing your phone horizontally is key for any shot you are going to take. For your social media stories vertical photos should be better. But remember that we want to get a nice wide shot of what we are seeing. A horizontal placed phone can fit much more details into a single photo. Once you learn how to properly use for- and background, this will be the only way to go.

Lightning conditions
The second thing that is just as important as the way you place your phone, is the actual light entering your lens. Shooting brightness up and down can be useful when not having enough time to wait for the perfect sunlight. But if time is what you have, always try to shoot the first two to three hours after sunrise or the last two hours before sunset. At that time lightning conditions are optimal when the sky is clear.
Placement
Now that our phone and light are set, lets go back to something we mentioned before. Placing is key. And that isn’t only the phone, but also you. If you are taking a photo of the ocean, it might seem boring to only have the ocean in it. But adding a boat, a beach, a mountain, or the sun rising can catch the eye. Always try to walk around the spot you are shooting from or wait for an interesting element to position itself into your photo. This will make your photos look much more interesting.

Get yourself in there
The last thing you probably want to do, is get yourself into the photo. For this a use of a tripod can be optimal, but not at all necessary. You can find a higher place to place your phone, or even let it stand on the floor, and elevate the screen for a better angle. Here is where the self-timer is also important. But before that, it’s also important where to place yourself. Depending on the landscape you don’t always want to stand or sit in the center of the image. Respecting the rule of thirds, it can also work perfectly to stand on the right or the left third of the photo. This wat you leave space for the landscape to be seen.
Practice
And if there is one thing that always needs to be done, it is to practice and practice and practice. You will notice how you improve after every trip you take, and boring travel photos start to become wonderful landscape photography using your iPhone.